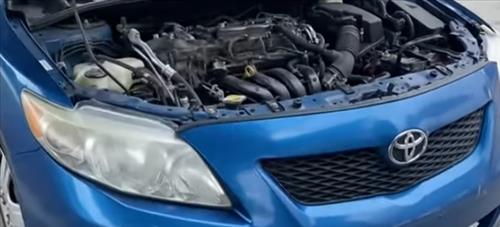
Replacing the alternator on a 2009-2013 Toyota Corolla is a task many backyard mechanics can do.
It is a straightforward job that can save money by an owner replacing it themselves.
Of course, if in doubt, be sure to take your vehicle to a professional.
How To Test a Toyota 2009-2013 Corolla Alternator
- Use a Multi Meter
- Remove it and take it to an auto parts store for testing
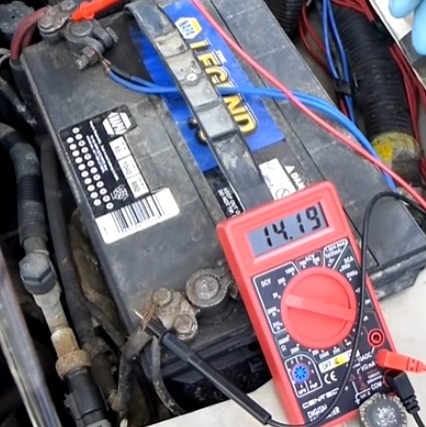
The main way to see if an alternator is charging is to use a multimeter and measure the vehicle’s voltage.
The battery voltage with the car off will be 12-volts DC; when the engine is running, it should be roughly 13-14 volts DC.
The alternator should be putting out roughly 14-volts DC so the battery can charge.
If the voltage does not go up when the car is running, then the alternator is likely bad and needs to be replaced.
Alternatively, if it is removed, auto parts stores will usually test it for free.
Tools and Parts Needed
- 10mm wrench or socket
- 12mm wrench or socket
- 14mm wrench or socket
- Flathead Screwdriver
- New Alternator
The main tools needed are a 10mm, 12mm, and 14mm wrench or socket, as well as a Flathead screwdriver.
A new alternator will also be needed, which can be bought at an auto parts store or online on Amazon.
How to Replace Alternator on a Toyota Corolla 2009-2013
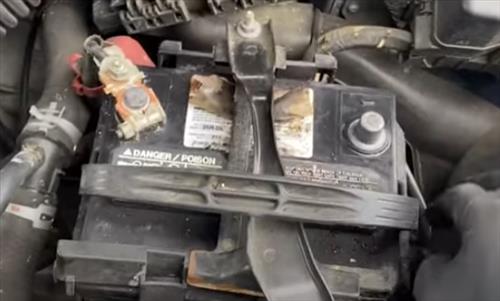
- Disconnect the positive or negative battery terminal.
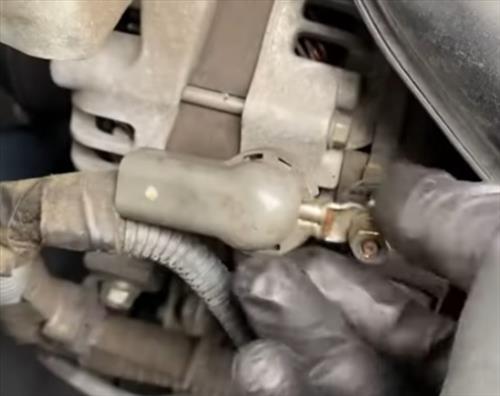
- Using a screwdriver, remove the plastic cap on the main alternator wire.
- Use a 10mm wrench and remove the bolt.
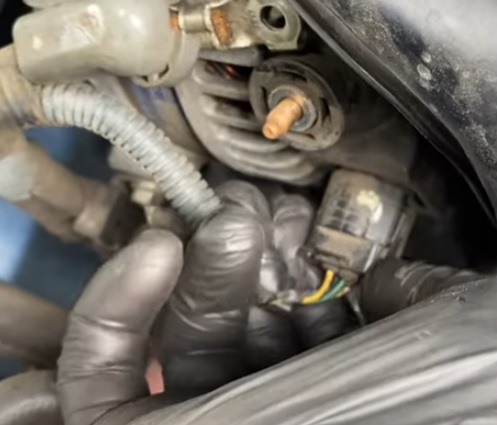
- Remove the wiring harnesses by pressing in on the sides and pulling out.
- Un-clip the wiring harness from the side of the alternator.
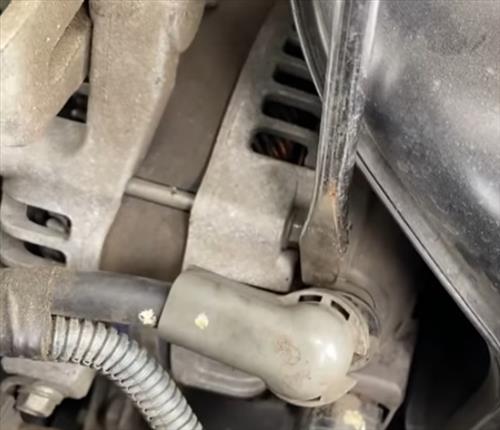
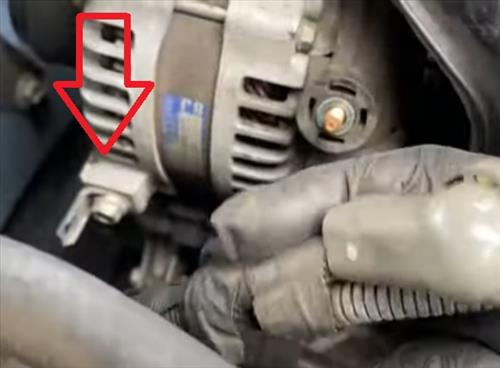
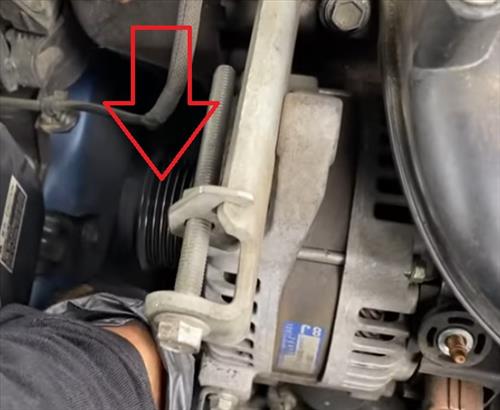
- At the bottom of the alternator remove the 14mm bolt.
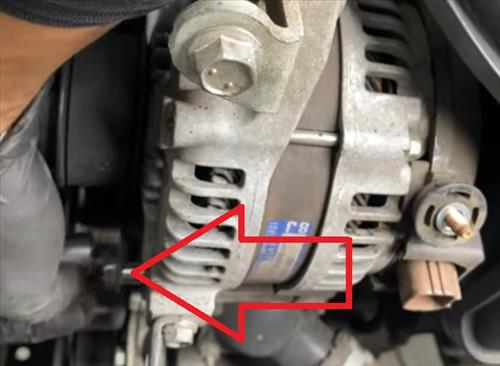
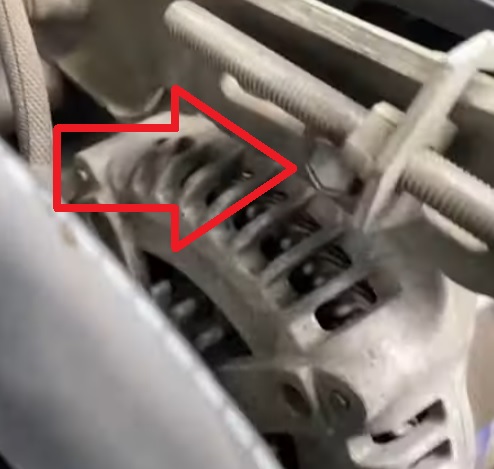
- At the top of the alternator remove the 12mm bolt.
- Slide the belt off the alternator pulley.
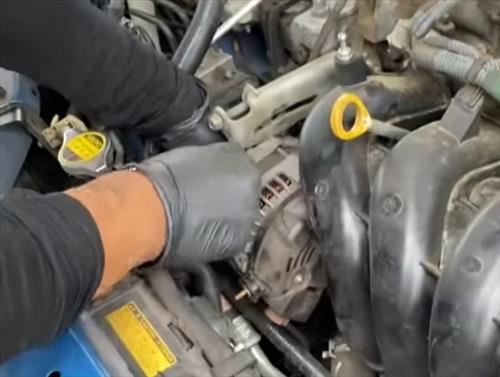
- The alternator should now come out. It will need to be jiggled about when pulling since most are in tight.
- Install the new unit in reverse order.
Summary
Replacing a bad alternator on a 2009-2013 Toyota Corolla falls in the DIY category.
The first step is to test it with a multimeter to see if it has failed.
The next step is to remove it and take it to an auto parts store for testing.
Once it has been verified to have failed, it should be replaced.
Follow the steps above to remove the old one and install the new one.
Have you had any issues when installing an alternator on a 2009-2013 Toyota Corolla? Let us know your thoughts below.