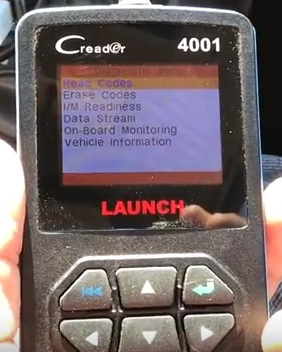
This unit was sent to me to review with my honest opinion and results below.
The Launch CReader 4001 is a basic OBD2 scan tool. It is not fancy looking, but it makes up for that with solid beginner features.
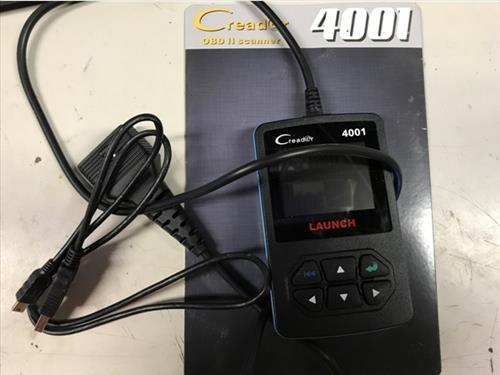
I am used to nice packaging and looks on tools I buy. The 4001 looks older on the outside, but once you plug it in the operation is better than it looks.
This is coming from someone who has been turning a wrench for a lot of years and has used multiple code readers. For the price this thing is great.
Below is how to use it for beginners, plus the features I personally like.
What Comes in the Box?
In the package there is a USB cord used to update the CReader 4001. That is a useful feature because vehicle coverage and DTC libraries change over time.
On the bottom of the unit you will see the USB plug.
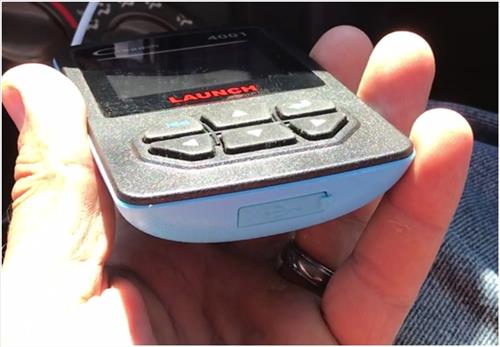
Plug it in and use the Launch update software from the PC when you need a refresh.
The CReader does OBDII and EOBD. That covers most 1996-and-newer U.S. cars and light trucks, and typical European OBD2/EOBD vehicles.
It does not cover ABS or SRS airbag modules. For a DIY check engine light job that usually does not matter. If you need ABS or airbag codes, you need a bigger scan tool.
Pound for pound for engine codes, I am still impressed with the value.
Who Is the CReader 4001 For?
Why do I like this OBDII scan tool? A few common reasons:
- You have a check engine light and want the code read and cleared after a repair.
- You are heading to a shop and want to know the code so you are not guessing what they tell you.
- You think the problem is simple and you want to try it yourself first.
For any of those jobs the CReader 4001 is still a solid choice when you can find one, or if you already own one.
How Do You Hook Up the CReader 4001?
Do not get discouraged if the reader does not power up in the package. It does not take batteries. It powers from the vehicle OBDII port.
The 4001 runs on about 9–18 volts. Most cars are 12 volt.
Plug the reader into the OBDII port, then turn the key to ON but do not crank the engine.
The port is usually under the dash on the driver side, near the steering column or kick panel. On some cars you have to look up under the dash to find it.
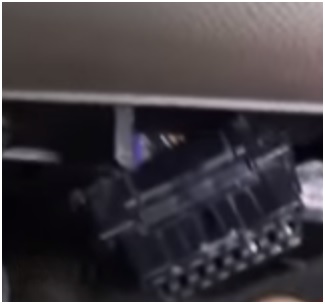
With the key ON and the engine off, press the green arrow on the 4001.
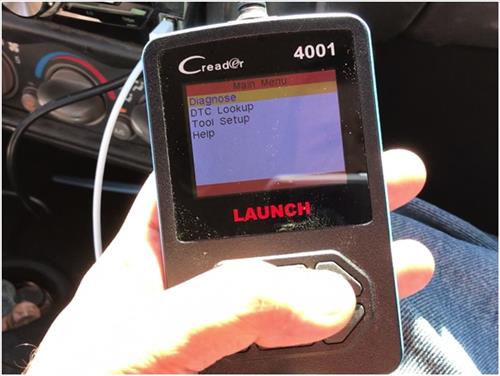
Scroll to Diagnose and press it again.
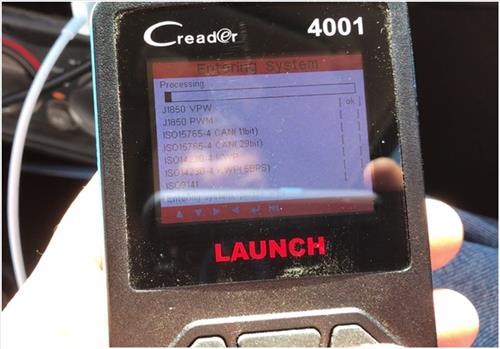
You will see the code reader processing. On this unit it is usually pretty quick.
If the vehicle has no stored codes, this is what you may see.
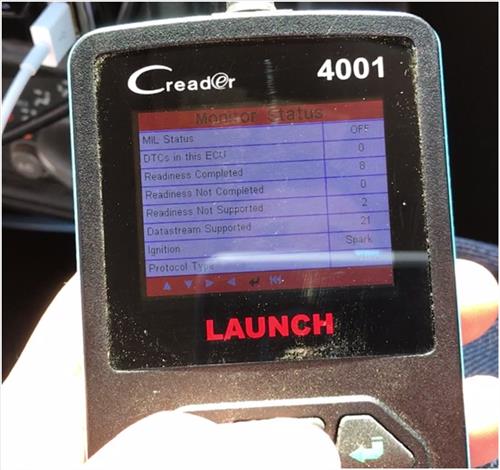
Note “DTC” and “ECU” on the screen. DTC means Diagnostic Trouble Code. ECU means Electronic Control Unit, which is the computer. You will also hear ECM or PCM for the same kind of module.
Owning a reader helps the conversation with a shop. You already know what code is stored before they plug in.
Reading and Clearing a Code
If there is a code, scroll to the DTC list and click the green arrow again.
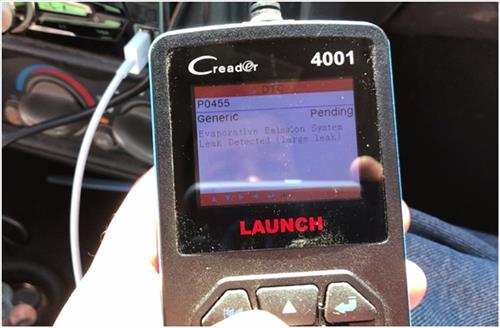
Most basic OBDII readers give you the code number. The CReader also gives a short definition on the screen. You do not have to dig out a chart right away.
In this example it shows P0455, which is commonly a large EVAP leak. A loose gas cap is one of the first things to check.
After a repair you still need to clear the code. Do not assume it will vanish on its own. Scroll to Erase Codes and follow the on-screen steps.
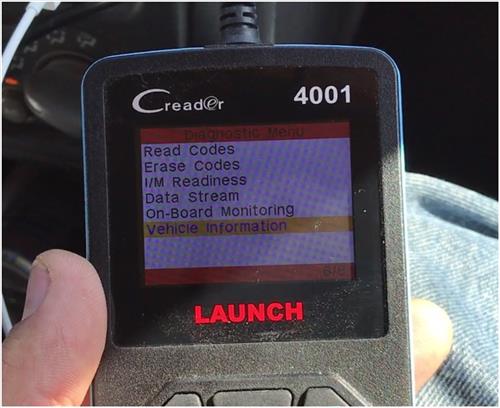
Follow the prompts to cycle the key. Then unplug the reader, start the vehicle, let it run a minute, shut it off, and scan again to confirm the code stayed gone.
Why the 16-Pin Cable Matters
Another thing I like about the CReader 4001 is the pin layout on the OBD connector. Compare the pin count to another reader I own.
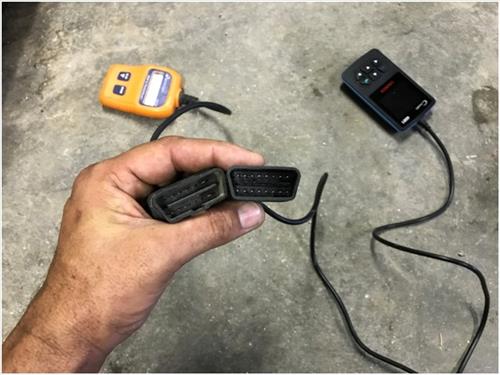
The scanner on the left has fewer populated pins. Some vehicles will not talk fully to a cheap adapter that skips pins. The CReader 4001 uses the full 16-pin OBDII connector. That is a big plus for a rookie mechanic or anyone who works on mixed makes.
Long Cable for Road Testing
The CReader also has a long cable, which helps for on-the-road diagnostics.
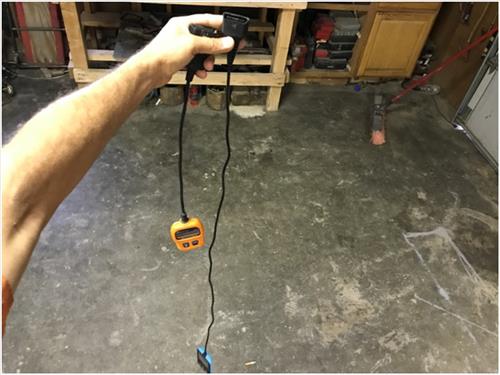
I can sit in the passenger seat while someone else drives and watch live data.
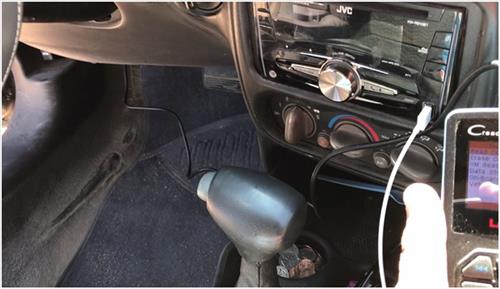
Not every problem shows up with the car sitting in the driveway. Watching RPM, temperature, and other live PIDs while driving helps on intermittent issues.
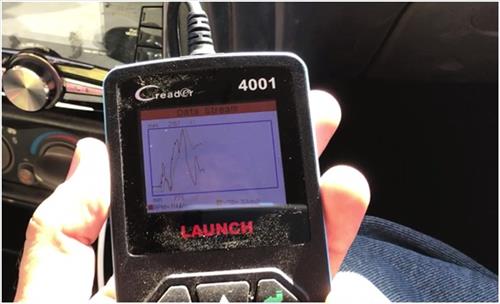
This screen is RPM while going down the road. The 4001 can stream a lot more data than just that.
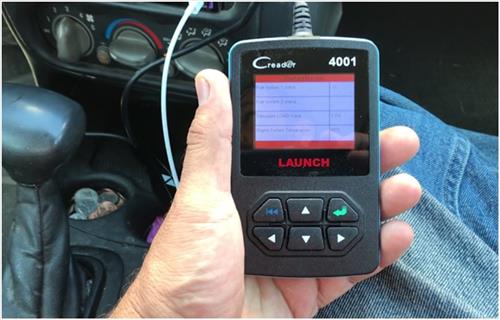
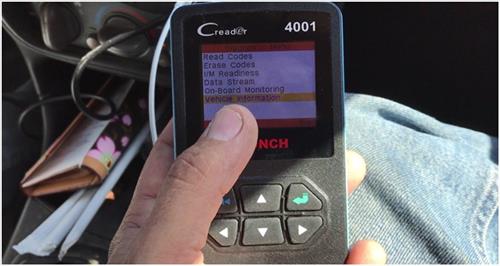
I also like vehicle info. One menu click and you can pull VIN and related info when the vehicle supports it.
Summary
If you want an easy code reader so you better understand why the check engine light is on, the CReader 4001 is still a strong pick for the money when you can find one in stock.
It is an engine / powertrain OBD2 tool. You get read/clear DTCs, freeze frame, live data, I/M readiness, DTC lookup, and VIN/vehicle info. It does not do ABS or airbags.
If you already own one, the how-to steps above still apply. Newer Launch DIY readers in the same class have replaced it on some shelves, but the 4001 remains useful for basic check engine light work on most 1996-and-newer OBD2 cars and light trucks.
*This site contains affiliate links for which a commission earned.
Read More Reviews Here on Amazon
LAUNCH CReader 4001 OBD2 Scanner Diagnostic Scan Tool
Curious how the CReader 4001 compares on older cars.
Here is the manual: “https://images-na.ssl-images-amazon.com/images/I/C1pT0X61ljS.pdf”
Can you point me to the website where I can update the 4001? Thx
Here is the page “http://www.dbscar.com/pad/landingPageIndexCreaderOnline4001.action”
I am looking for instructions for my 4001 Can someone e mail them please….Thanks
Please provide the website for a website can be used to download a manual for the Creader 4001.
Thanks for the great review. i didn’t know what a great tool i had bought. i can’t find the manual for this particular model nor can i find updates for it. i looked at the crecorder.com and cnlaunch.com and the dbscar.com link above and didn’t see either of those items. let me know if you know.
later
Thee updater program asks for serial number, which i enter, from back of device. Then it then asks for username??? but there is no where to enter username? and i cannot continue! so program hangs!