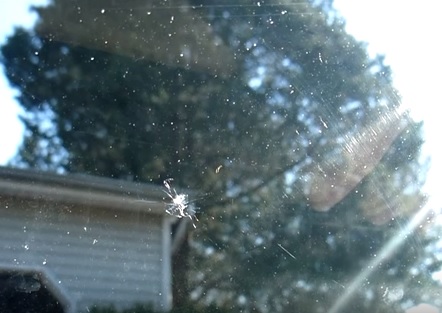
Getting a chip or crack on a windshield like any accident is a bad moment.
Fortunately, as long as they are repaired quickly, the chip should not turn into a large crack which would require an entirely new window.
That is the main crucial part of repairing a chip to repair it quickly, so a bump in the road doesn’t turn it into an expensive repair.
Doing it yourself is a straightforward DIY task that saves on money and can be done by almost anyone.
Windshield chip repair kits are sold that will get the window back into good shape.
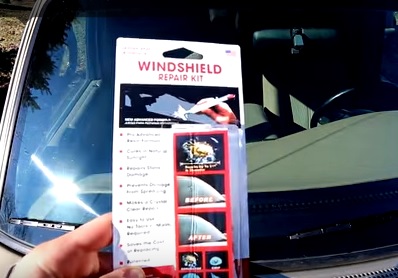
For the steps below, a windshield repair kit will be needed.
A good kit will come with everything needed and can usually repair a chip up to roughly 2 inches.
Be sure to follow the directions that come with any Kit.
How to Repair a Windshield Chip or Crack
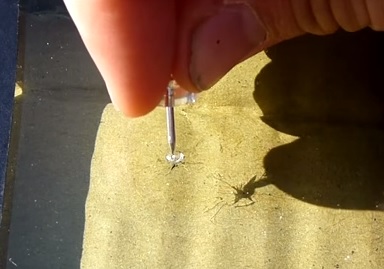
- Park the vehicle in a shaded area, so the windshield is not overly hot, and clean the area. Pour alcohol on a rag to clean the spot; do not spray directly on the area; simply wet the cloth and wipe it clean.
- Use a tack to clean out any loose glass.
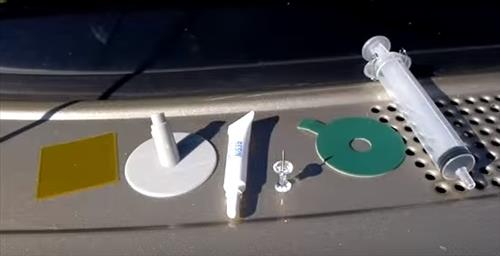
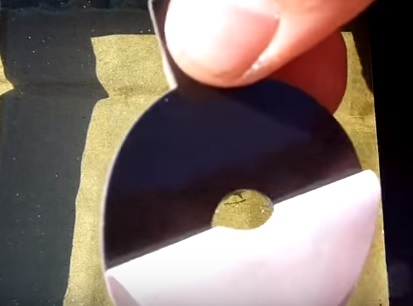
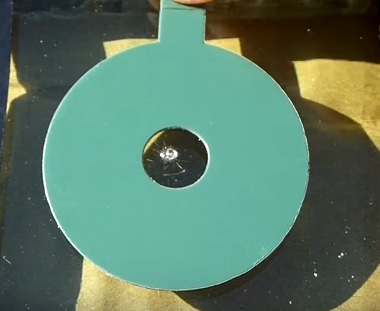
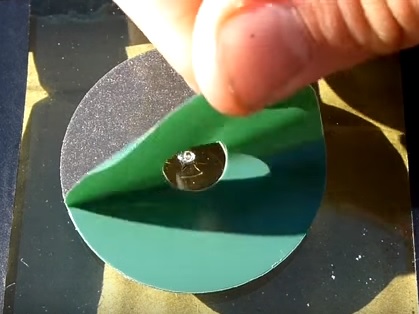
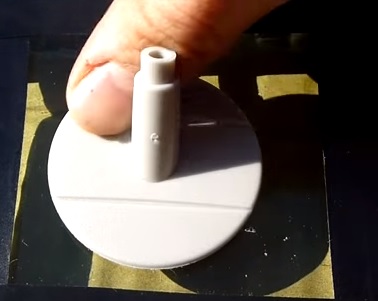
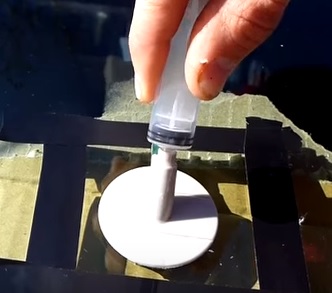
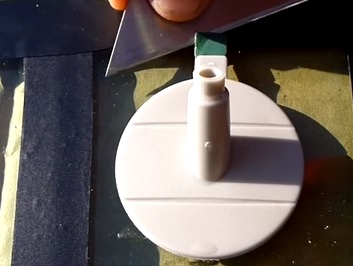
- Take the round pad and peel off the strip. Stick the pad on the windshield so the chip is located at the center of the hole.
- Once it is centered, peel off the sticky cover.
- Take the long tube and stick it to the pad.
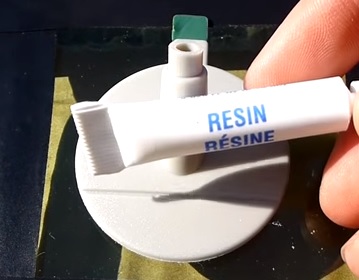
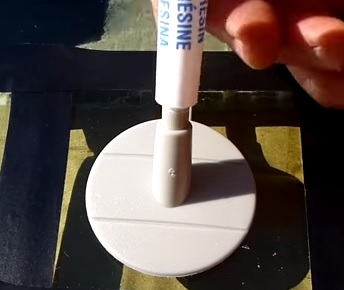
- Next, get the resin and cut the tip-off.
- The resin is inserted into the tube, and 3/4 of the resin is squeezed in.
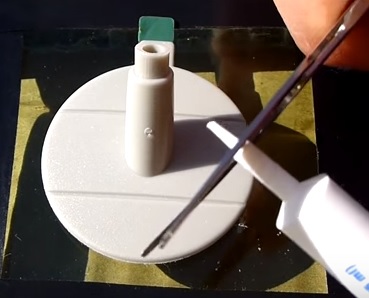
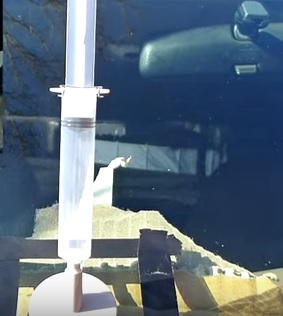
- Push the syringe into the opening.
- After the syringe is in place, it is pulled up on, which pulls all the air out of the space creating a vacuum. As per the directions, let it sit for 10 minutes.
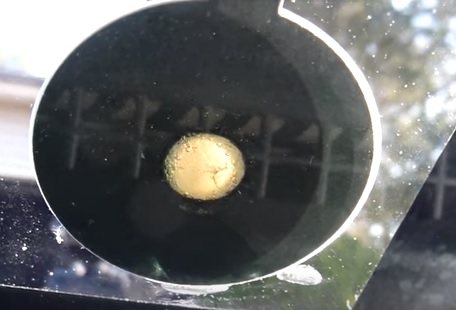
- As you wait, looking at the chip from the inside, you will be able to see air bubbles being pulled out.
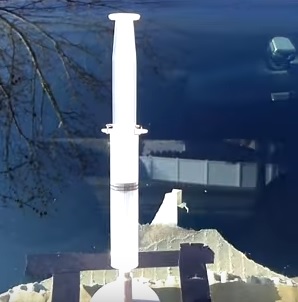
- Once ten minutes have gone by, the syringe needs to push a force down onto the damaged spot. To do this, remove the syringe, let in air, then reinsert it and push it down. As per the directions, wait 20 minutes.
- After 20 minutes, the assembly can be removed. The part that stuck to the window may need a razor blade to help remove it.
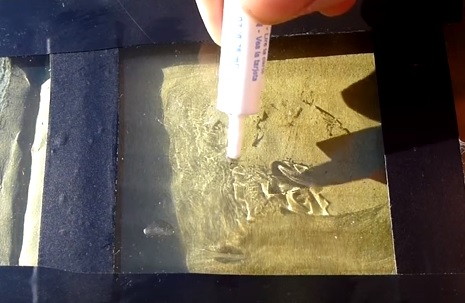
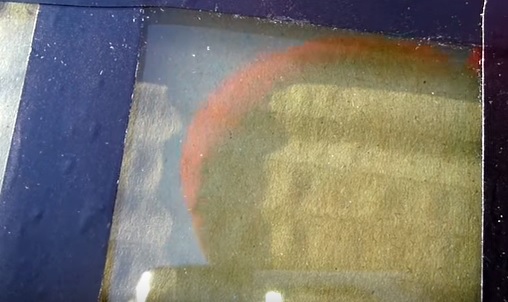
- Take the leftover resin and put a drop on the crack.
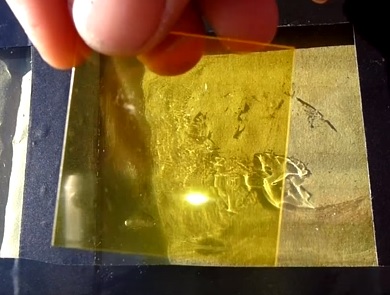
- Take the flat yellow piece and place it on top. Let it sit for 1 hour.
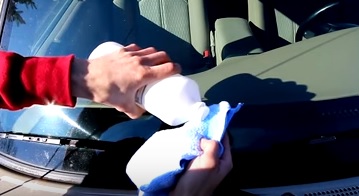
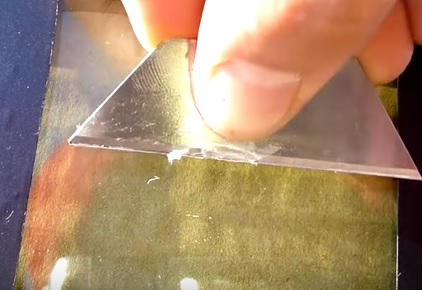
- After it dries, remove the yellow square and use a razor to remove any leftover substance.
- Once it is cleaned, the crack should be gone.
Summary
Fixing a chipped, cracked window is a straightforward process.
The main thing to remember is to follow the direction exactly on the package.
Temperature can also play a role in how well the resin dries and does what its supposed to do.
Have you fixed a chipped windshield before? Let us know your experience in the comments below.
I didn’t realize that you can fix a windshield like this. I didn’t realize that having a syringe will make the process go faster. Personally, I would want to hire a professional to fix issues with my windshield.